
Preparing a design for screen printing is crucial to ensure the final product looks sharp and professional. This article will guide you through the steps needed to get your design screen printing-ready. Whether you’re a novice or have some experience, these tips will help you achieve the best results from a professional screen printing service. Let’s dive into the details of setting up your design correctly.
Understanding Screen Printing
Screen printing is a popular method for creating vibrant and durable prints on various materials. It’s widely used for custom apparel, promotional items, and more. To ensure a high-quality outcome, understanding the basics of screen printing is essential. The process involves transferring ink through a stencil (or screen) onto the material.
- Screen printing produces long-lasting and vibrant prints.
- It’s ideal for bulk orders due to its efficiency.
- This method works well on various materials, including fabric and plastic.
Choosing the Right Software
Using the right design software can make a significant difference in the quality of your screen print. Professional software like Adobe Illustrator or CorelDRAW is commonly used for creating screen printing designs. These programs offer advanced features that help in creating precise and detailed designs. If you’re not familiar with these tools, investing time in learning them is worthwhile.
- Adobe Illustrator is highly recommended for vector graphics.
- CorelDRAW offers user-friendly tools for detailed design work.
- Both programs support the file formats needed for screen printing.
Setting Up Your File
Proper file setup is crucial for screen printing. Your design file should be in a format that the printer can easily work with, such as AI, EPS, or PDF. Additionally, ensure your file has the correct dimensions and resolution. Typically, a resolution of 300 DPI is recommended for screen printing.
- Use AI, EPS, or PDF file formats.
- Set your file resolution to 300 DPI.
- Ensure the file dimensions match the desired print size.
Designing for Screen Printing
Creating a design specifically for screen printing requires attention to detail. Simplify your design to avoid tiny elements that may not print well. High contrast in your design can also improve the clarity of the final print. Keeping these tips in mind will help in achieving a crisp and clear print.
- Simplify your design for better print quality.
- Use high contrast to make elements stand out.
- Avoid intricate details that may not transfer well.
Color Considerations
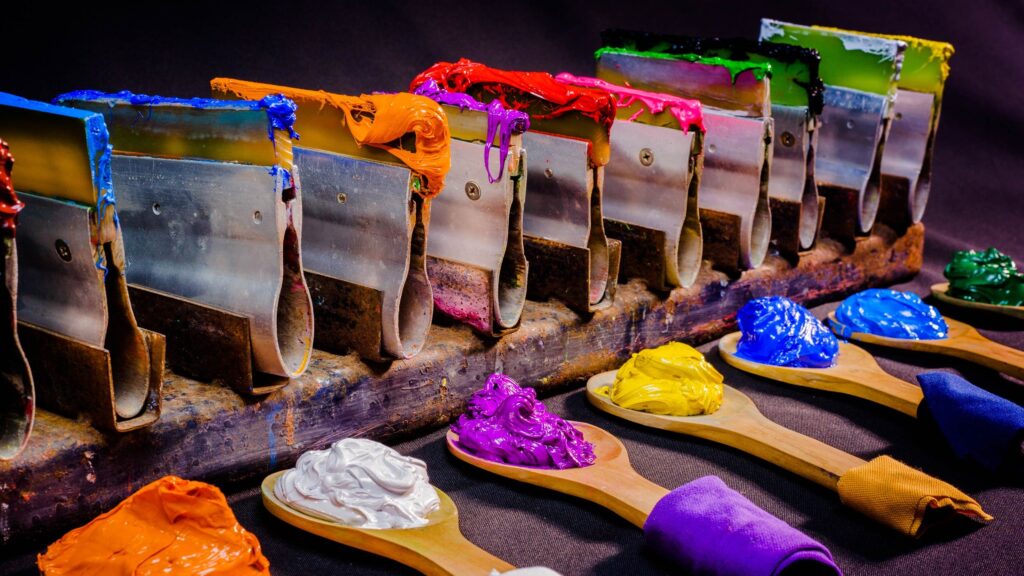
Choosing the right colors for your design is another important step. Screen printing uses separate screens for each color, so it’s crucial to select colors that will work well together. Understanding the color separation process can help you make better choices.
- Limit the number of colors in your design.
- Use colors that contrast well for better visibility.
- Be aware of the cost implications of using multiple colors.
Using Layers Effectively
Layers are a powerful feature in design software that can help organize your artwork. Using layers allows you to separate different elements of your design, making it easier to manage and edit. This is particularly useful for complex designs with multiple components.
- Organize your design elements using layers.
- Use separate layers for different colors.
- Label your layers clearly for easy reference.
Font and Text Guidelines
Text can be a critical part of your screen printing design. Choosing the right fonts and ensuring they are readable is vital. Avoid overly intricate fonts and ensure your text size is appropriate for the final print size.
- Choose simple, readable fonts.
- Ensure text size is large enough to print clearly.
- Test your text by printing a sample at actual size.
Preparing Your Artwork for Print
Before sending your design to the printer, double-check everything. Ensure there are no errors in the file and that all elements are correctly set up. Getting a proof from the printer can also help catch any potential issues before the final print.
- Review your design for any errors.
- Confirm all elements are correctly set up.
- Request a proof to verify the design.
Preparing Your Design for a Professional Screen Printing Service
Throughout this article, we covered the essential steps to prepare your design for a professional screen printing service. From understanding the screen printing process to choosing the right software and setting up your file correctly, each step plays a critical role in the quality of your final print. We also discussed design tips, color considerations, effective use of layers, and text guidelines. Following these steps will help ensure your design is ready for the screen printing process and will result in a high-quality final product.

Key Takeaways for Preparing Your Design for Screen Printing
- Use professional design software like Adobe Illustrator or CorelDRAW.
- Set your file resolution to 300 DPI and use formats like AI, EPS, or PDF.
- Simplify your design and use high contrast for clarity.
- Limit the number of colors and understand the color separation process.
- Organize your design using layers and choose readable fonts.
- Double-check your artwork and request a proof before final printing.
Frequently Asked Questions
- What file format is best for screen printing?
- AI, EPS, and PDF formats are ideal as they support high-quality vector graphics.
- Why is 300 DPI recommended for screen printing?
- A resolution of 300 DPI ensures that the design details are crisp and clear in the final print.
- How many colors should I use in my screen printing design?
- It’s best to limit the number of colors to reduce complexity and cost. Typically, 2-3 colors work well.
- Can I use any font for screen printing?
- Choose simple, readable fonts. Avoid intricate fonts that may not print clearly.
- Why should I request a proof from the printer?
- A proof allows you to catch any errors and see a preview of the final print, ensuring it meets your expectations.